Custom Phase Cycles
Opening the Phase Editor Base Menu (PBM)
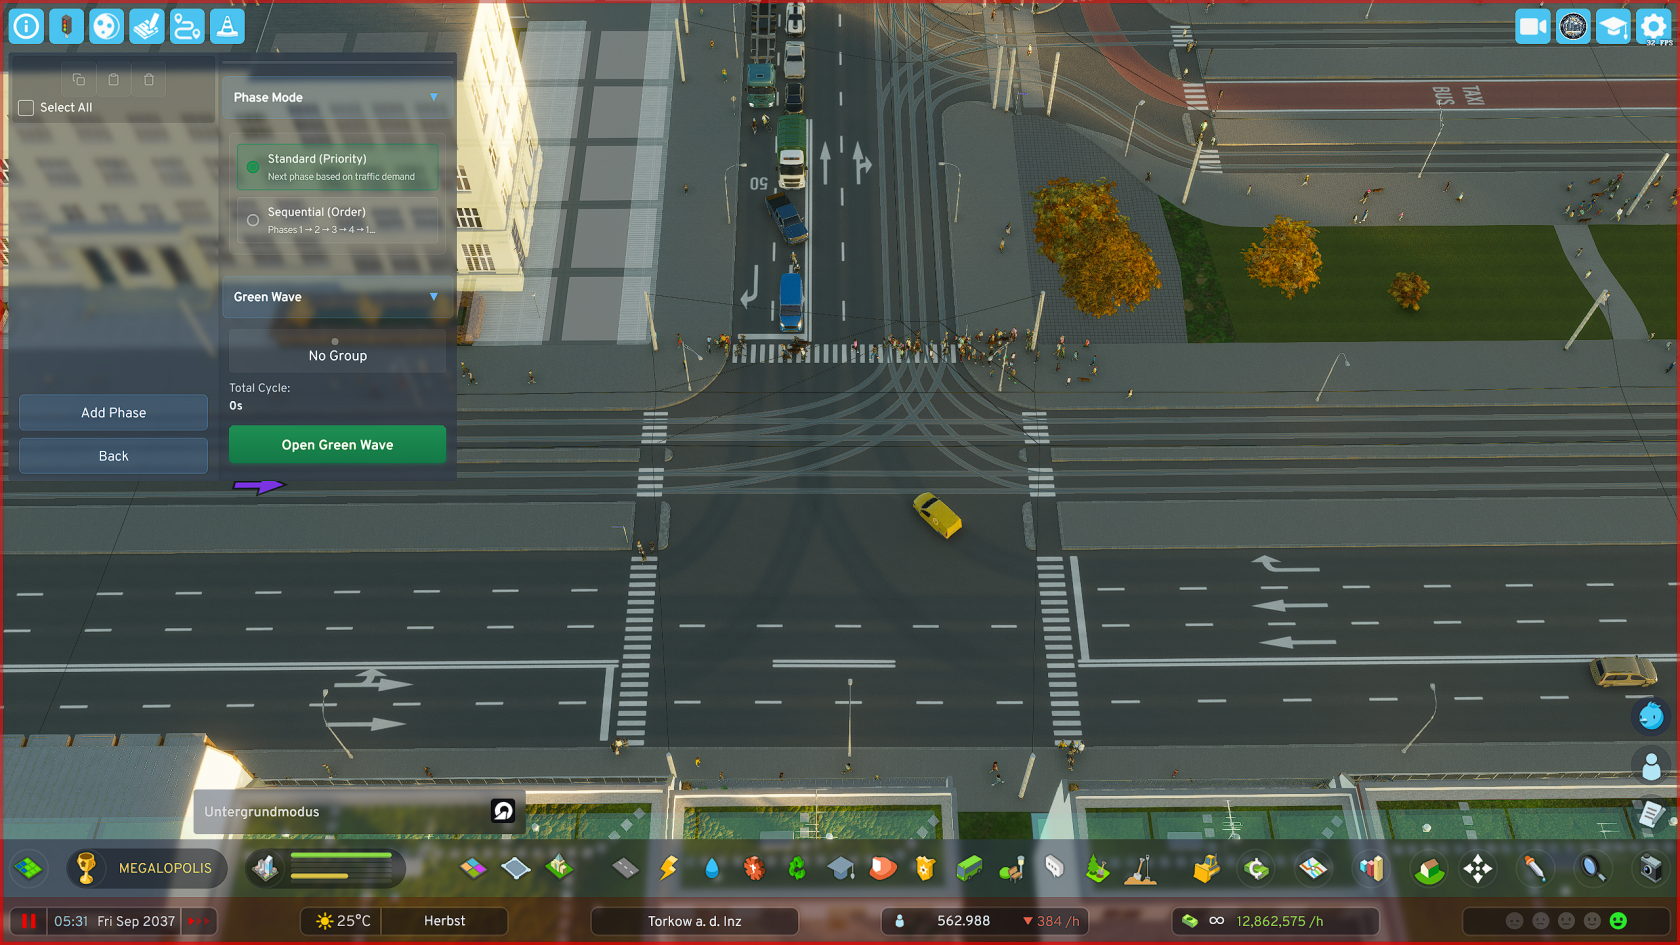
**Phase Editor (Base Menu)** Here you can manage your phases: **Create** phases, **move** phases, **edit** phases, **delete** phases, **copy** phases and **paste** phases
Adding a Phase
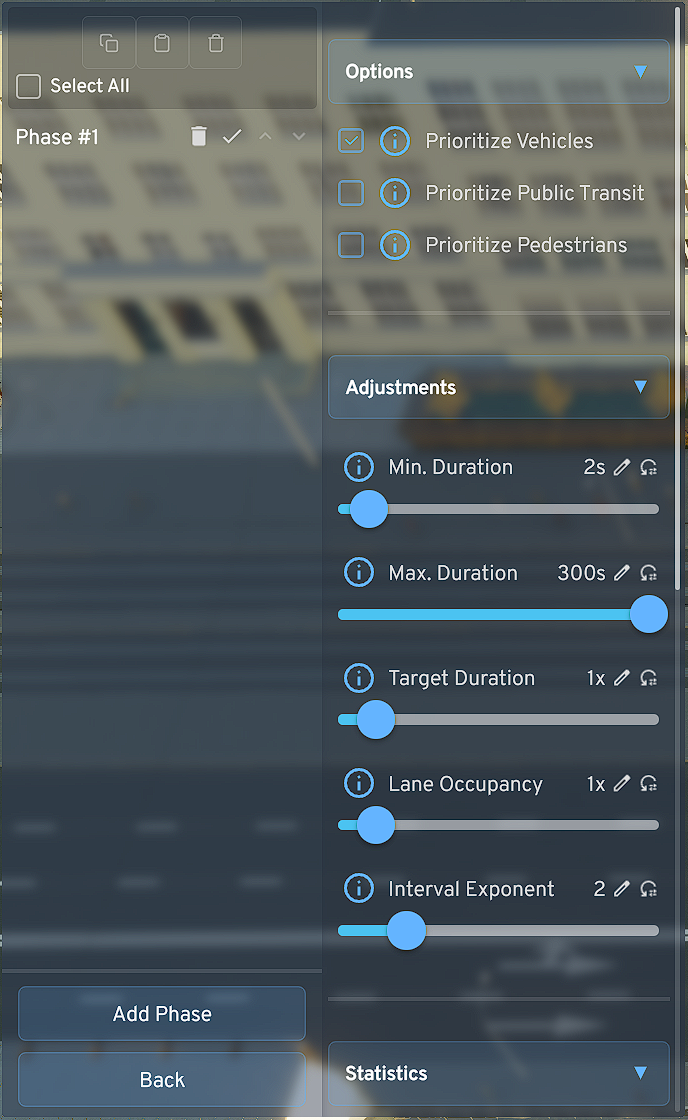
- Click on "Add Phase", the phase menu opens immediately
- Set the parameters of the respective phase according to your preferences and local requirements
- Also set here which road users should be prioritized in a phase.
For example, if a tram and individual traffic lane cross in a phase and you have set to prioritize public transit, traffic waits until the tram has passed the intersection

**Parameter Description**
- Minimum Duration: The phase must run at least this long, completely independent of whether there is high or low traffic on it
- Maximum Duration: The phase may be active for at most this long (e.g., to actively reduce phase duration on lower-traffic arms to favor main traffic directions)
- Target Duration: Influences (as one of two factors) the duration of the green phase. 2x = twice as long, etc.
- Lane Occupancy: Influences (as the second of two factors) the duration of the green phase, but target-controlled, not in principle like target duration, but ONLY when the lane is actually occupied by vehicles
- Interval Exponent: Vehicles and phases that would have to wait a long time are favored in Priority Mode to prevent them from "starving". However, this can be handled more elegantly with the more modern variant (Sequential Mode)
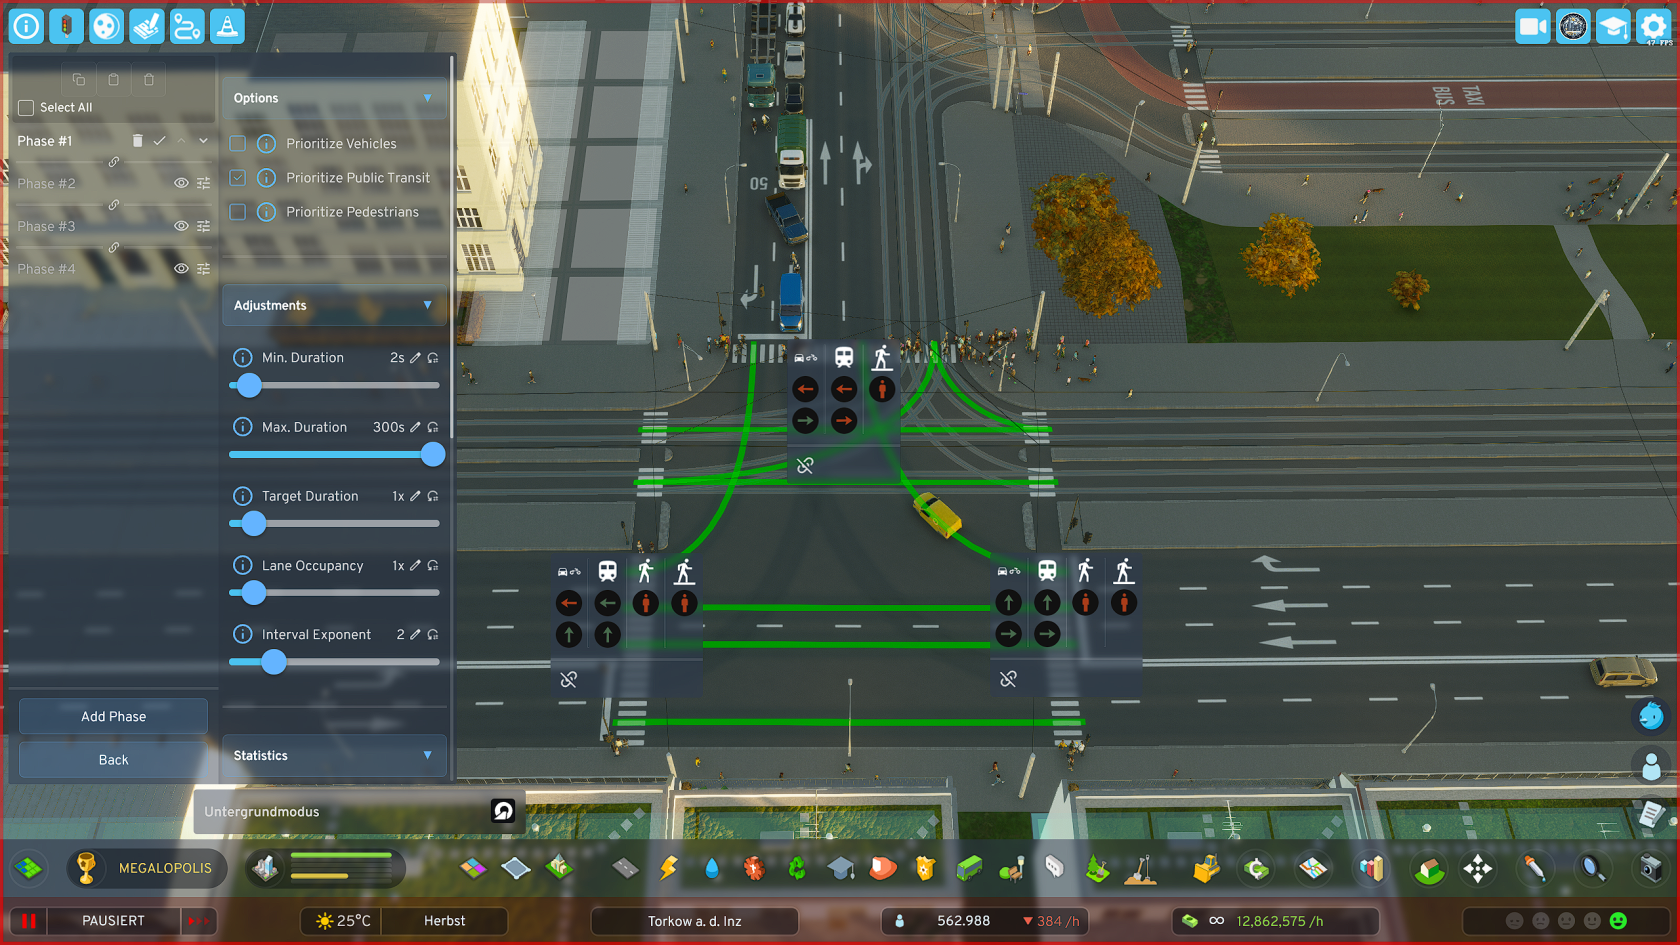
Setting Phase Lane Release
Create multiple phases this way and essentially create an individual heartbeat for each of your important intersections.
- Create as many phases as you need to cover all intersection arms and turning lanes at your respective intersection
- Click on the red icon of the desired road user (cars/bicycles, public transit, pedestrians) to switch the corresponding traffic light from red to green
- Click again on the same symbol and the color changes to blue, which means that
- Click a third time to return the symbol to its default state (RED)
**TIPS**
1.: Create a separate pedestrian phase at intersections of major traffic arteries where many pedestrians also appear (most likely in the city center, or on later-planned major bypass roads, etc.)
2.: Important for "Green Wave":
The last phase in the overall cycle should (only relevant when using the "Green Wave" function) be an ADDITIONAL "useful phase" - i.e., a phase that transfers traffic on important routes, as the last phase is used by the sync system as a buffer for synchronization when overall cycle lengths of intersections in a group differ significantly or the number of phases of individual intersections differs too much.
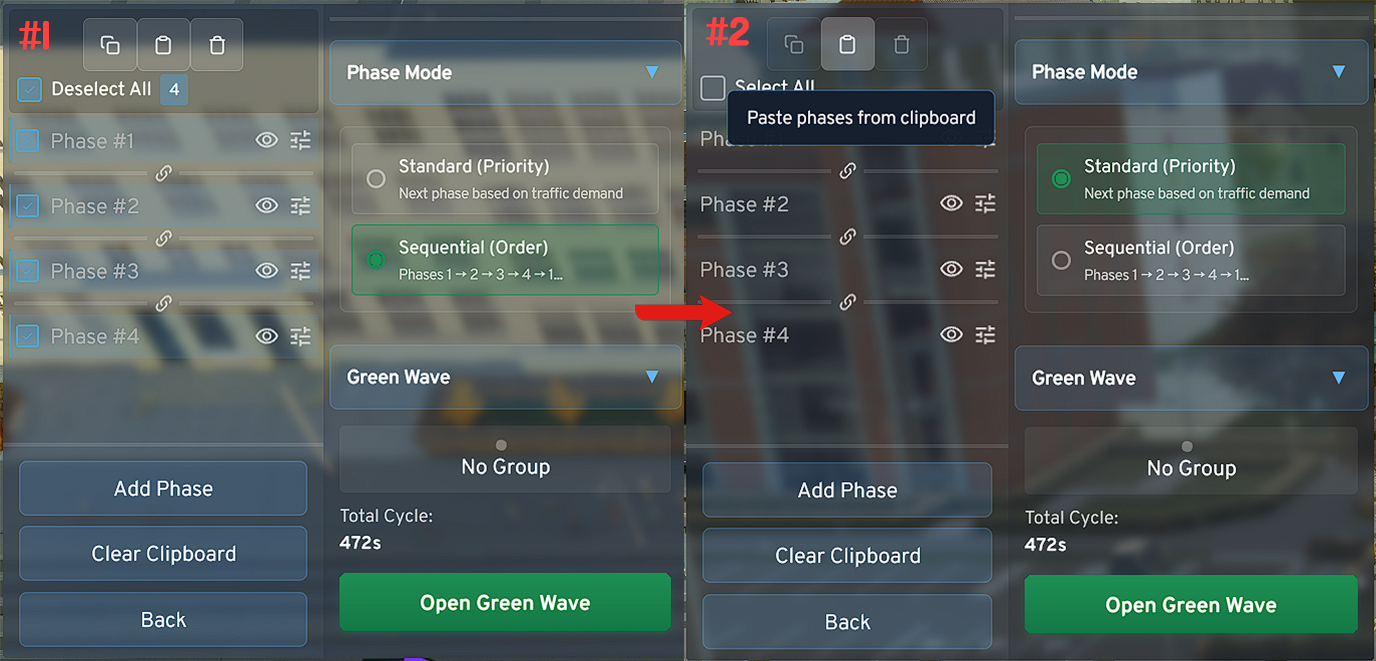
Copying and Pasting Phases
- Click on the checkbox "Select All" in the PBM, top left near the 3 buttons
- Adjust your selection if needed
- Click on the "Copy" button
- Switch to the PBM of the other intersection to which you want to add the phases
- Click on the "Paste" button, the middle one of the 3 buttons
**Copy/Paste Tool**
- The tool cannot work magic. For non-identical intersections the system will try to transfer as many signal switches as possible when copying, but you should check them again and adjust if necessary.
- When synchronizing intersections, when using the "Green Wave" function, the system can be best optimized when grouped intersections are perfectly aligned using the tool regarding timing settings, i.e., min. duration, max. duration, etc.